3D Printed Chess Set
I pursued this project because of an interest in chess and to experiment with 3D printing.
ROLE Designer, Fabricator
DATE 2021
TOOLS Onshape, 3D printing
The Why
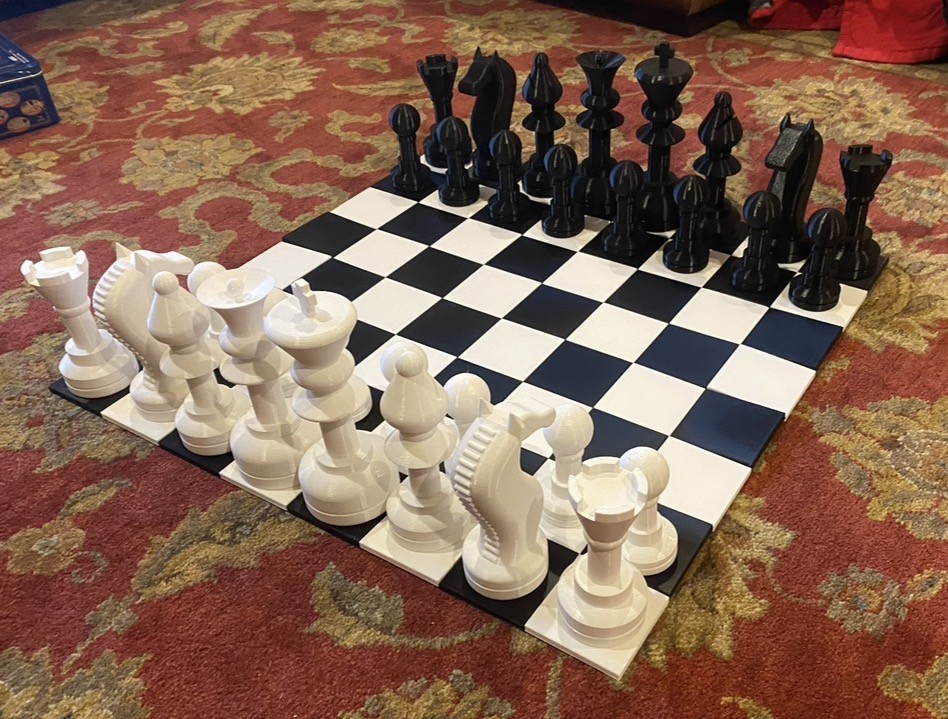
I pursued this project mainly from a why not mindset. At the time I had just recently gotten a 3D printer and wanted a project to test it out, so I modeled a chess set on onshape and printed it out.
The Vision
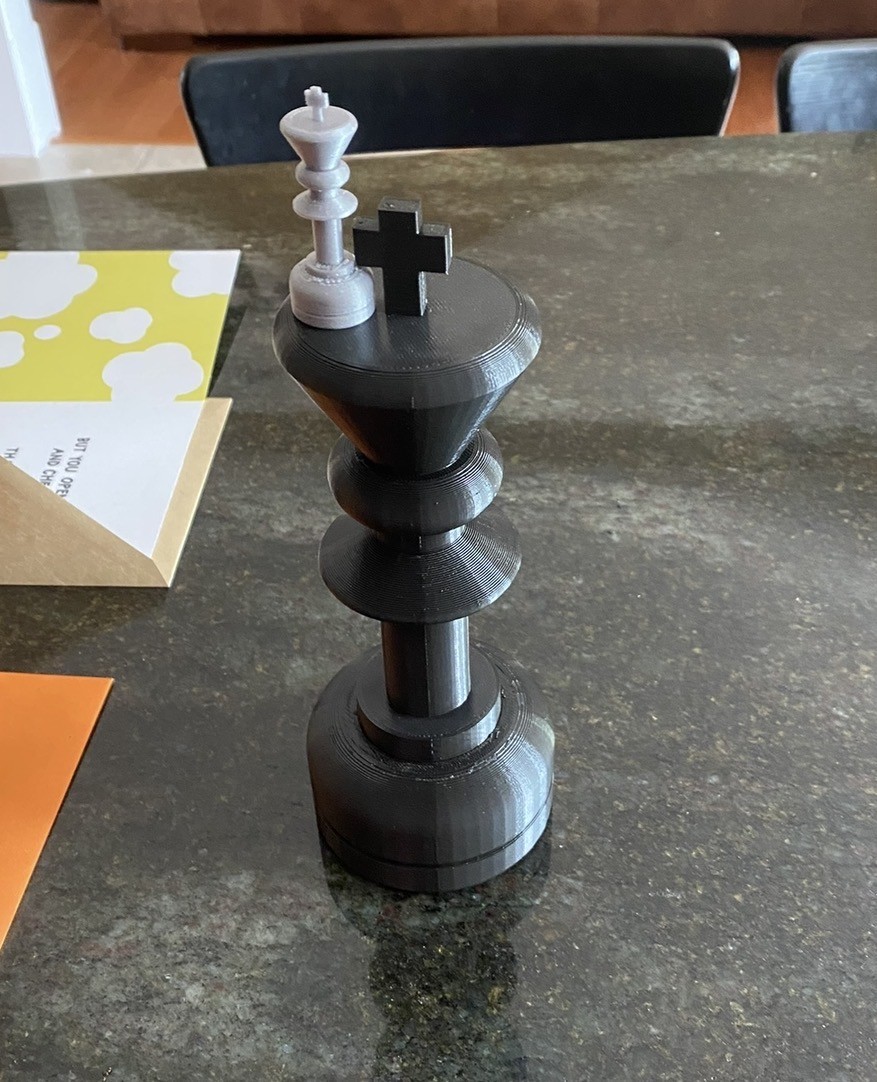
What I wanted from this project was a cool looking chess set that showed off the capabilities of my printer and 3D modeling. My printer is capable of printing a little over eight inches in the z axis so my pieces were sized off of an eight inch king.
Designing the Pieces and Board
The route I took to design the pieces was to create a side profile of the pieces and then revolve them around a center axis to create the solid part. Most pieces took the same shape just with different sizes and proportions so I designed the king and then duplicated it for each different part and adjusted the dimensions as desired. The knight was completely unique so it was the part that took the longest. Each part had some features of asymmetry revolved around the axis so additional extrusions were needed.
I wanted the board to be 3D printed as well so I needed a way for the tiles to interlock in a repeating pattern to minimize the amount of unique parts. I ended up with one unique part for the center pieces, two unique parts for the edges and one unique part for the corner. These pieces each had hooks and corresponding cavities to interlock together.
Printing the Parts
These were the first parts that I designed and printed on my own so I experimented with infill, outside layers, layer heights and all the other settings that you need to learn. These big pieces also took a lot of filament so I tried to find ways to cut costs my optimizing the material use. I tested zero infill which ultimately did not work and found that five percent infill was the best option for this project.
Also pieces this big and the fact that 32 chess pieces and 64 board pieces needed to be printed from one printer, time was also something that needed to be considered with the print settings. This led to using .30mm layer heights which printed quickly while still looking plenty small enough compared to the size of the pieces.
Final Result and Lessons Learned
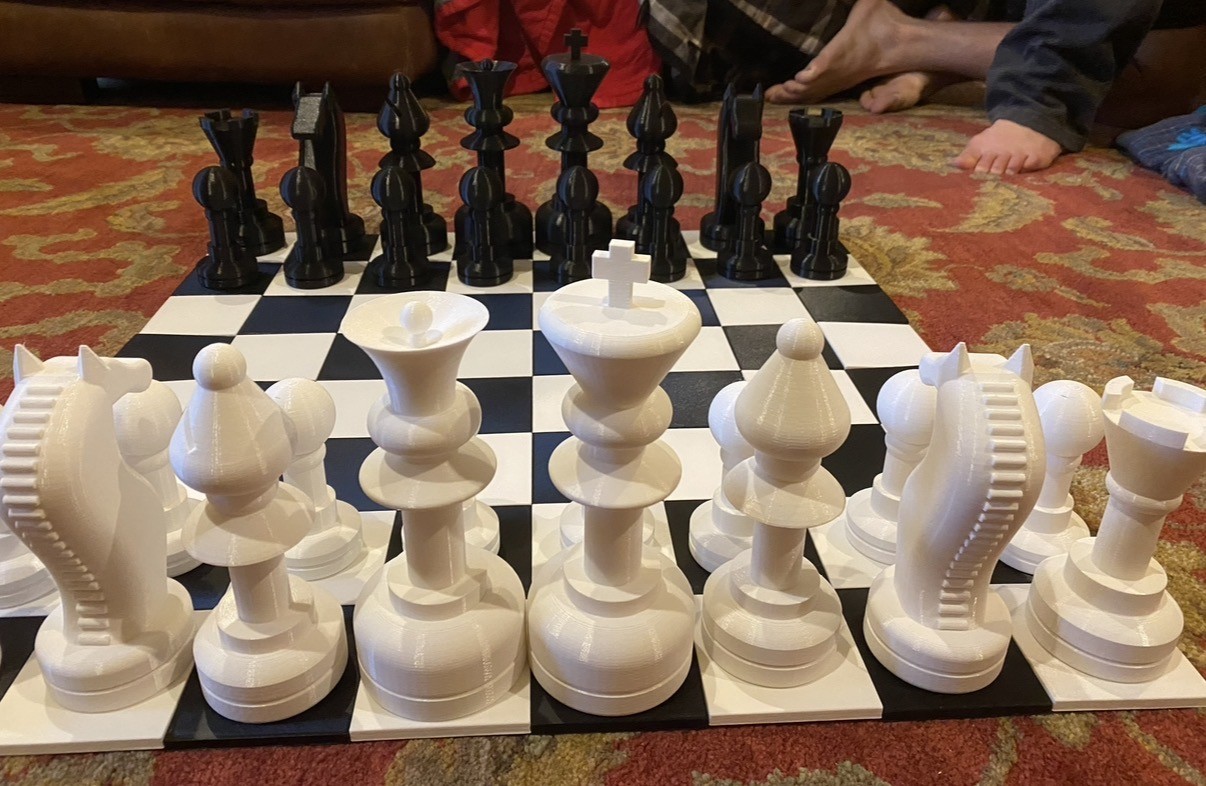
The final result was a 3D printed chess board that measured 16 inches along each side and a 3D printed chess set that measured to an 8 inch king. I entered this project into my county 4H fair and won a Grand Champion Ribbon and got to send it to the state fair.
I learned a lot through this project as it was the first time I 3D printed with the settings that I chose. By my success in my county fair I also learned that projects and technology can be appreciated by others and should be shared.