Briefcase Bass Amp
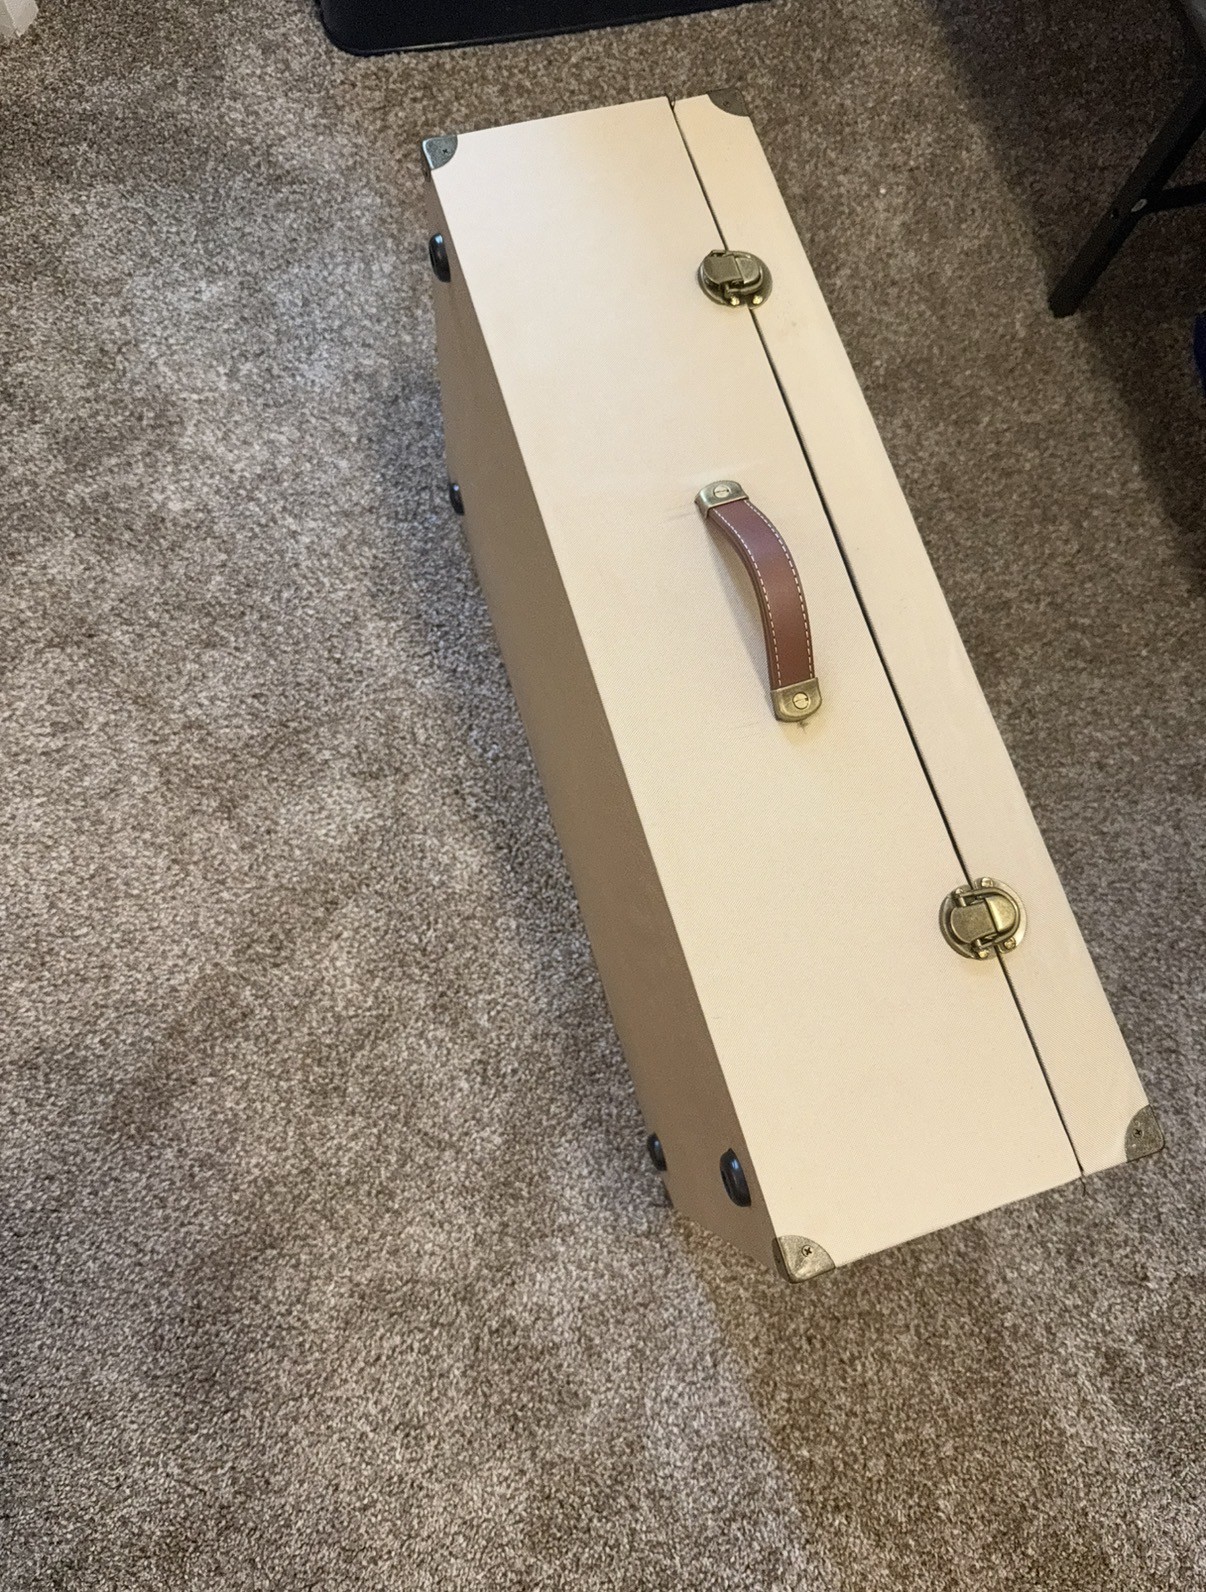
The goal of this project is to create a convenient solution for musicians to keep all their gear in one place. This led to the convenient solution of a single briefcase that contains the bass amp and speaker, cords, and multi fx.
ROLE Designer, Fabricator
DATE 2025
TOOLS Onshape, 3D printing, Woodworking, Wiring
The Problem
When a musician is carrying their gear they only have two available hands and one of them is already taken by carrying the bass guitar. This leaves only one hand to carry everything else that they need. This means that the entire musical setup needs to be contained under one handle.
The idea of someone taking a single trip from the car to the playing location led to the idea of a briefcase amp. A briefcase that contained the whole setup where the only thing that needed to be done is open it and plug it in and its ready to play.
Engineering Goals
The goal for this project was exactly what was explained above; to create a plug and play musical setup for bassists. The vision for this convenient setup required the following criteria:
- Everything is setup when you open up the case
- Speaker big enough to play with a live drummer
- Multi fx and amp head are secure but can easily be removed without permanent changes
Initial Design - Size & Shape
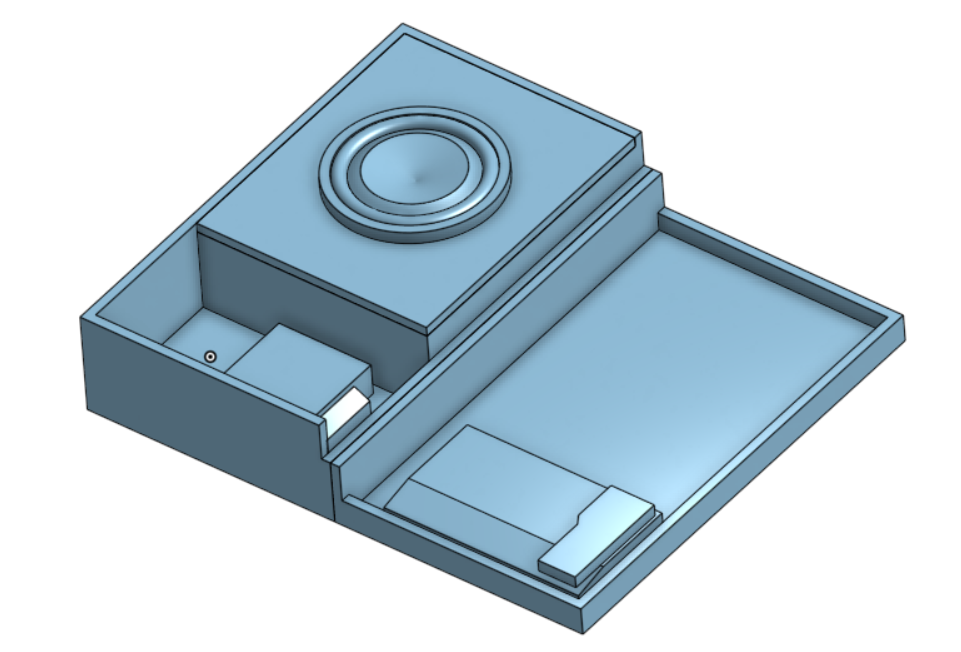
I modeled the design in Onshape to have a plan and be able to visualize how all the parts would fit into the briefcase. This made it easy to organize and see how the parts interacted as the briefcase is opened and closed.
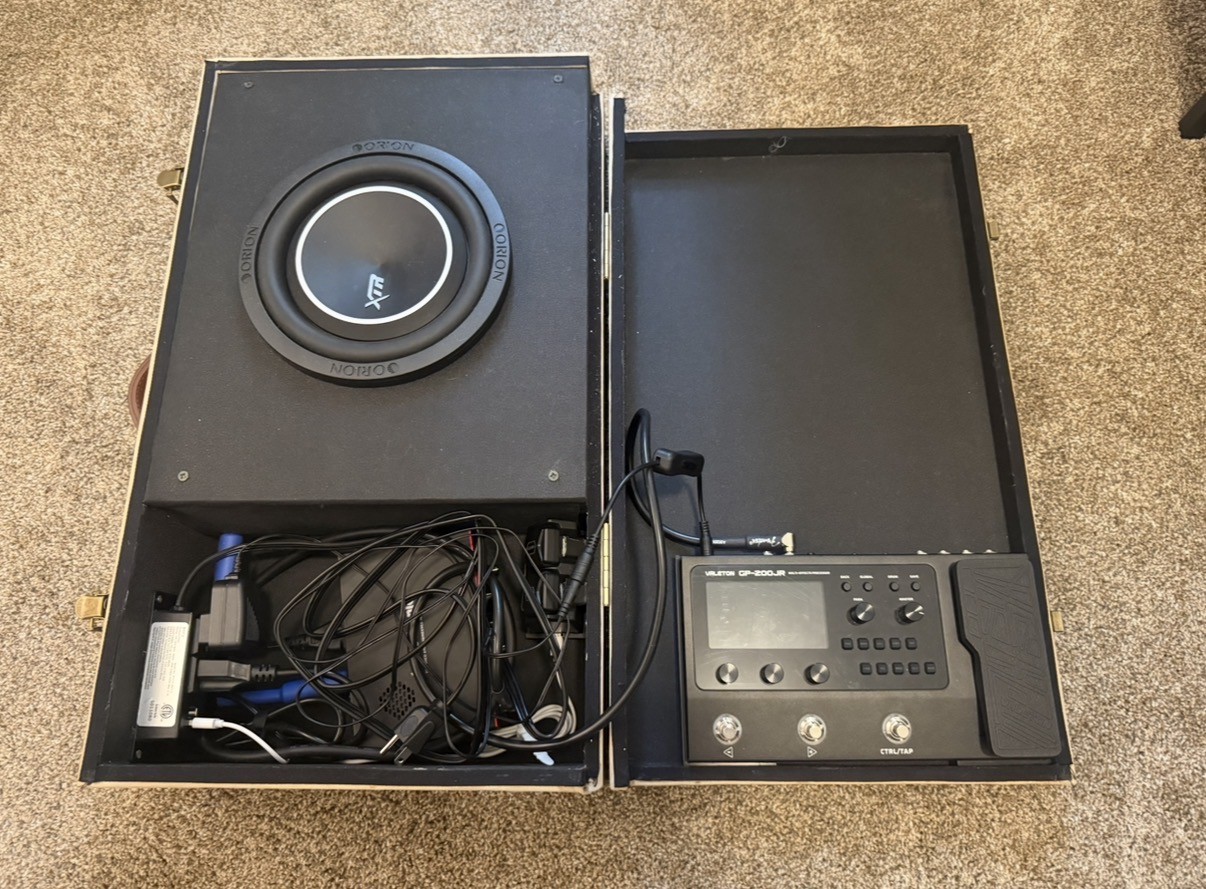
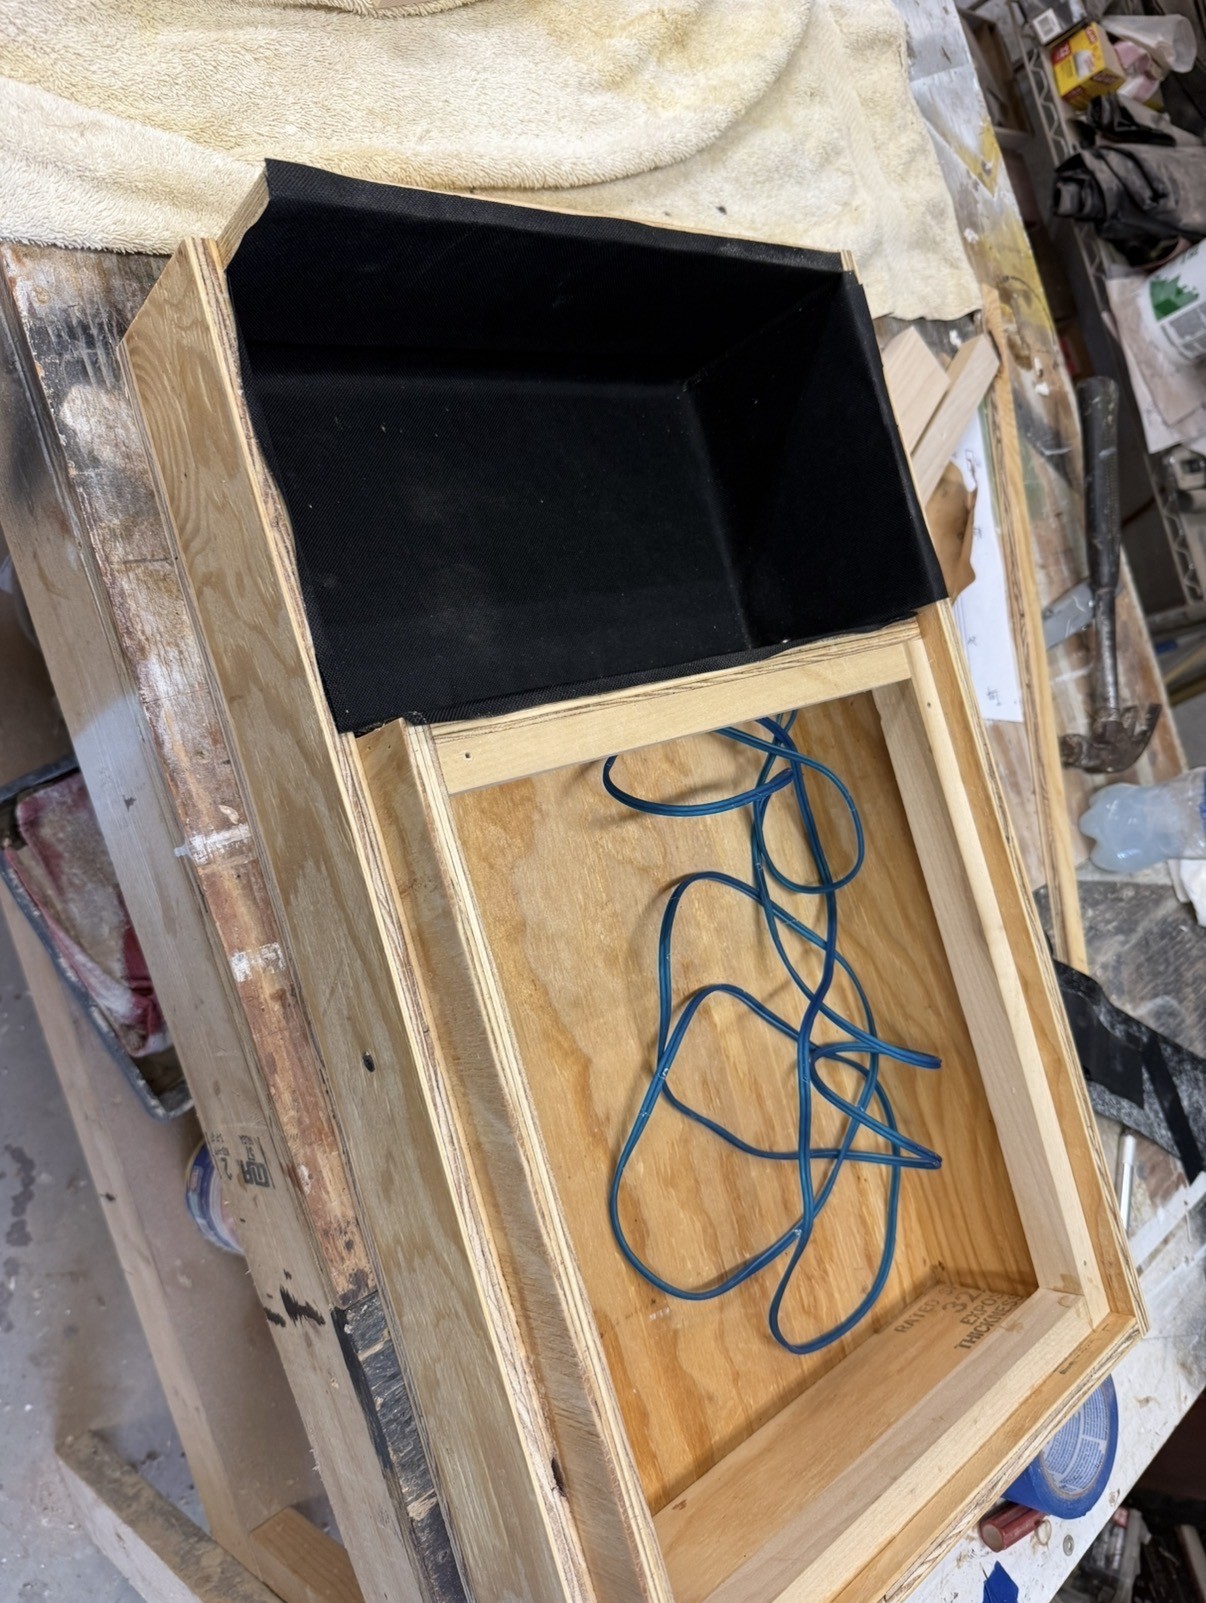
The briefcase needed to have plenty of space for the speaker cab otherwise the tone of the sound would be poor. It also needed space for the amp head, wires, and multi fx. This led to a design where the multi fx would be mounted on the lid and when closed would be stored above storage for the amp head, bluetooth instrument cables, and various cords. The case needed to be plug and play so the multi fx needed to function while still mounted in the case. The solution for this was to have the lid walls a different height that the bottom walls while keeping the walls with hinges the same height so when the case was open the bottom and lid lay flush on the ground.
The speaker cab needed to be as small as possible to keep the size down but when you shrink the size it worsens tone. The compromise made was to make the cab smaller than ideal but put polyfil inside which makes the cab sound similar to a bigger cab. This decision was made because convenience is prioritized over tone for the goal of this project.
Mounts for the Removable Components
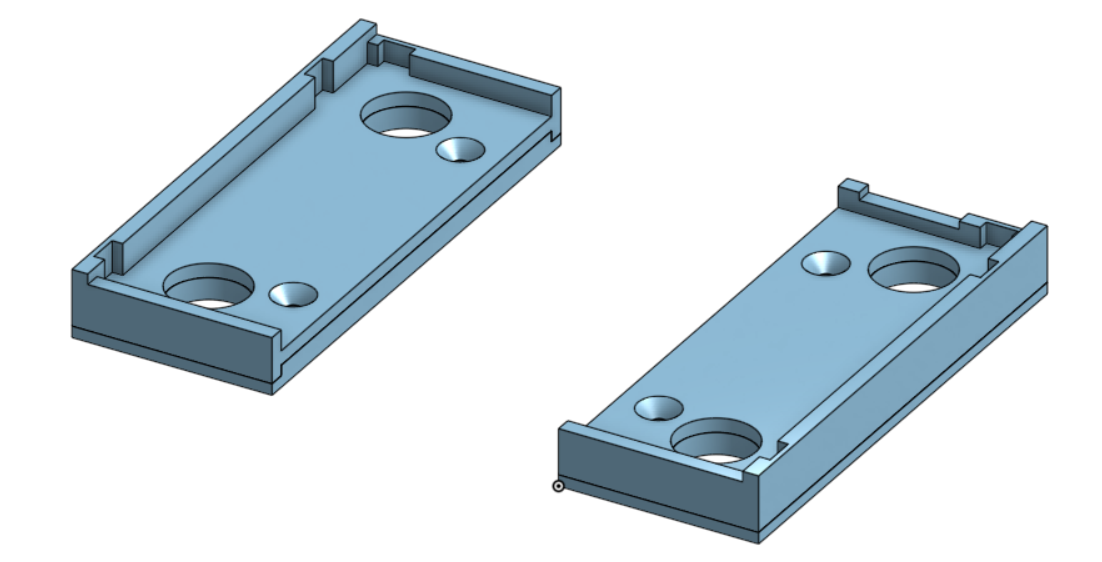
The multi fx and amp head were expensive and I wanted the option to use the multi fx outside of the case if desired. Both components are made with a magnetic metal so I designed and printed mounts that fit the corresponding components and contained magnets to secure them. Using magnets allowed the components to be secure without the need for latches or straps which made it significantly simpler and easier to remove them from the case if needed.
The housing for the bluetooth instrument cables also needed to be secured in a way that could be easily removed. A different strategy needed to be used because it didnt have any magnetic metals on it so instead I designed a case and wrapped in duct tape to grip it better. Ultimately it is secure but can be easliy removed without any moving parts which was desired.
Wiring and Setting up the Speaker Cab
All aspects of the briefcase were now figured out except for the cab. A speaker needed to be mounted to the cab built into the case and wired into the amp head which delivers power to the speaker. I wanted a clean look for the inside of the cab and didn't want exposed wiring or soldering that could be see or interacted with. To achieve this I wired the speaker to a 1/4 inch aux input that was mounted on the side of the cab. A 1/4 inch aux cord could then be plugged into this input to the amp head for a clean look with no exposed wiring.
Finishing Touches and Lessons Learned
Now that all of the technical stuff was figured out, all that was left was to make the case look good. I covered the inside with a black fabric and the outside with a tan fabric. I used brass components for the handle, hinges, and corners and the briefcase bass amp was complete.
I had a lot of fun designing and building this project however I did not enjoy adding the fabric so for future projects I just need to remember to stick the technical stuff and stay away from tedious decorations. However, I also learned some technical lessons as well. I learned power routing and management through the limits of the amp head and what the speaker required. I also became more confortable with wire gauges and corresponding loads allowed.