3D Printed 5x5 Rubik's Cube
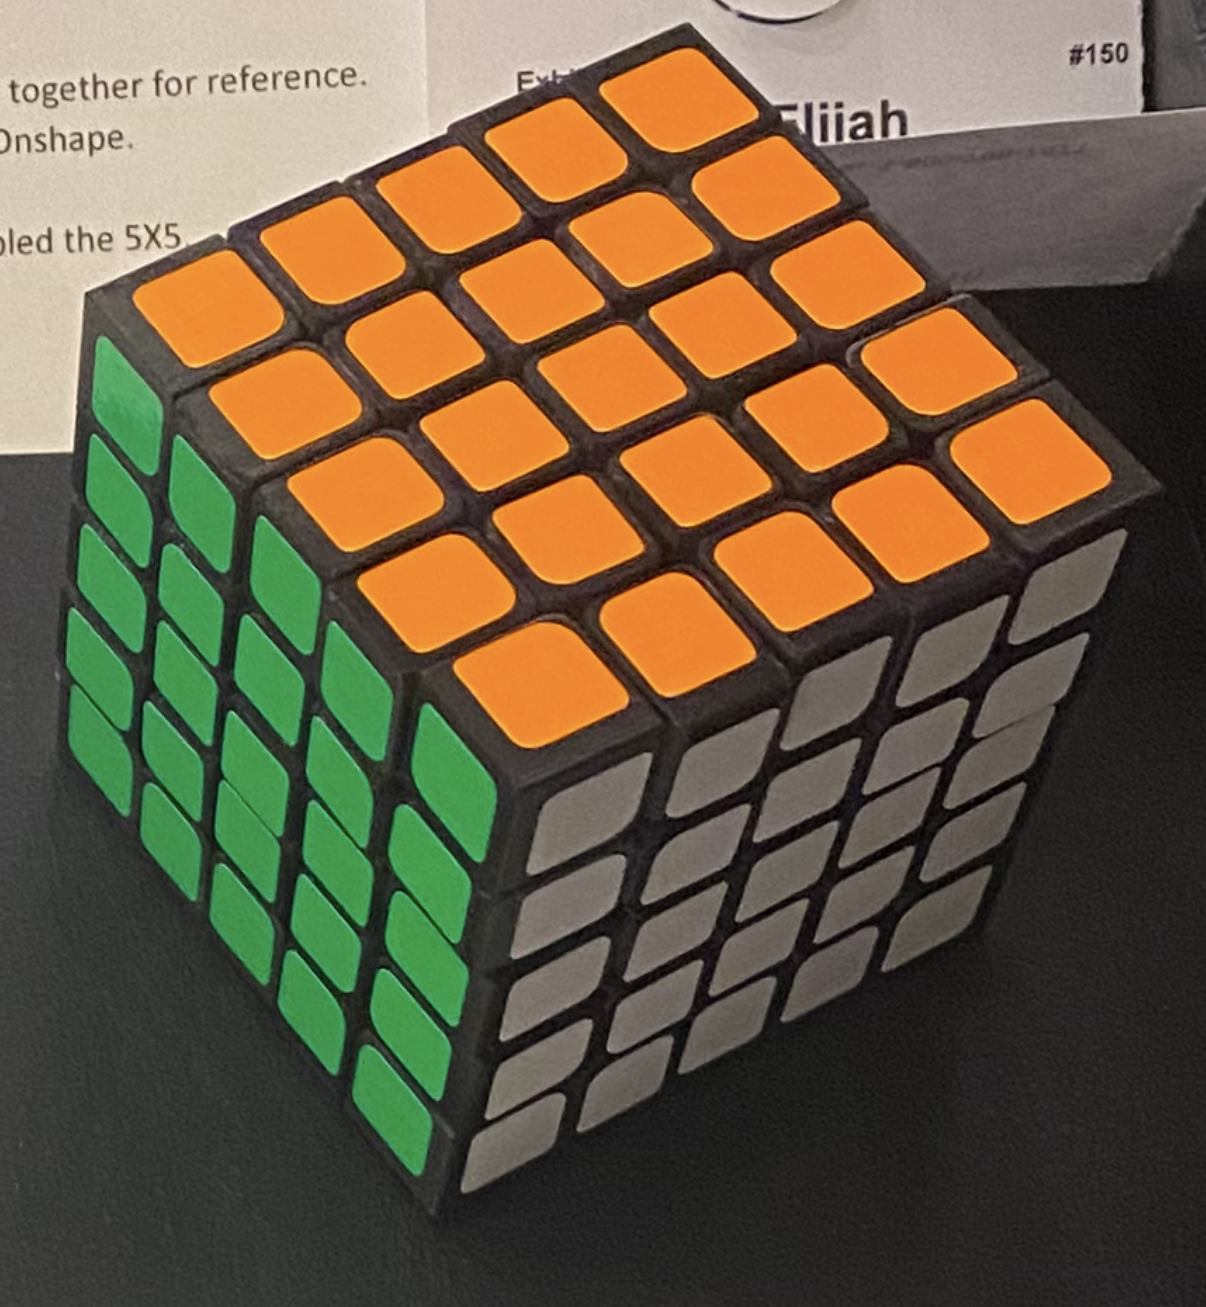
The goal of this project is to 3D model and print a fully functional 5x5 Rubik's Cube. This requires precise modeling and tight tolerances to create interlocking parts that interact with several other parts simultaneously.
ROLE Designer & Manufacturer
DATE 2023
TOOLS Onshape, 3D printing
The Inspiration
I have always been interested in Rubik's Cubes and thought that it would be really cool to have a 3D printed cube. This led me to modeling and printing a 3x3 Rubik's Cube in a few days. The project difficulty did not satisfy me so I turned to the 5x5.
The goal for this project was to model and print a fully functional 5x5 Rubik's Cube. The only parts that I was allowing to not be 3D printed was 6 screws and 6 springs to hold the core together.
Reverse Engineering the Cube
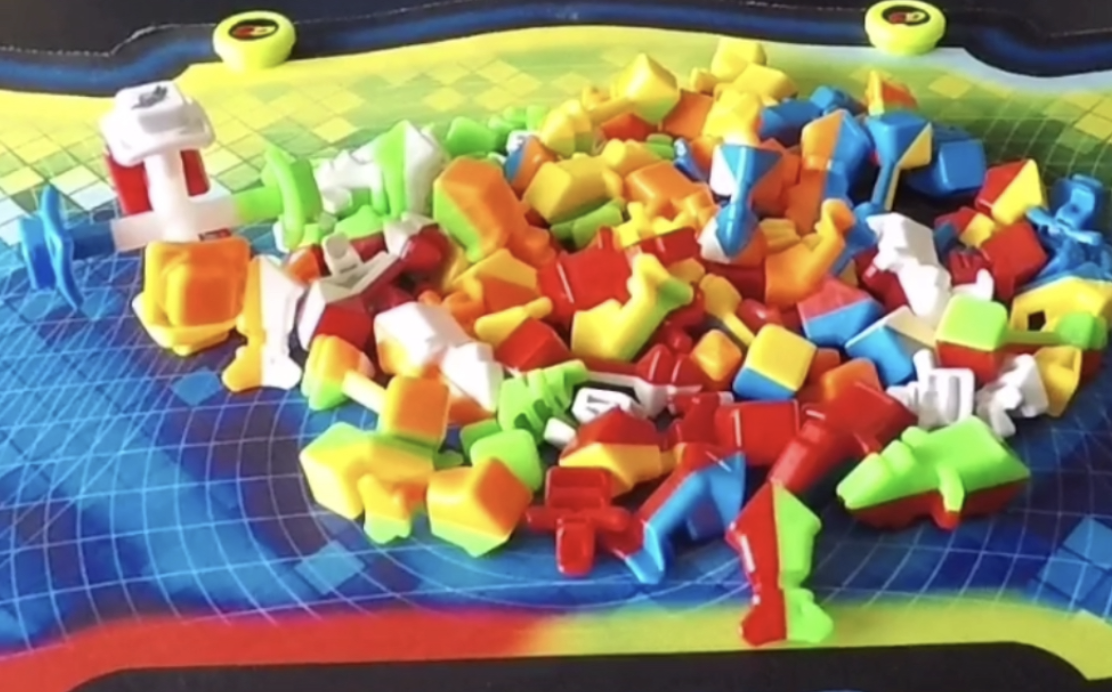
The first step in designing the cube was to disassemble a 5x5 that I had, to see how the internals worked and interacted. The internals of a Rubik's Cube are complicated due to parts interlocking in a way that allows rotational movement that can pass off pieces to a new layer. This design restricts the pieces to be physically attached to the other pieces.
3D Modeling and Design
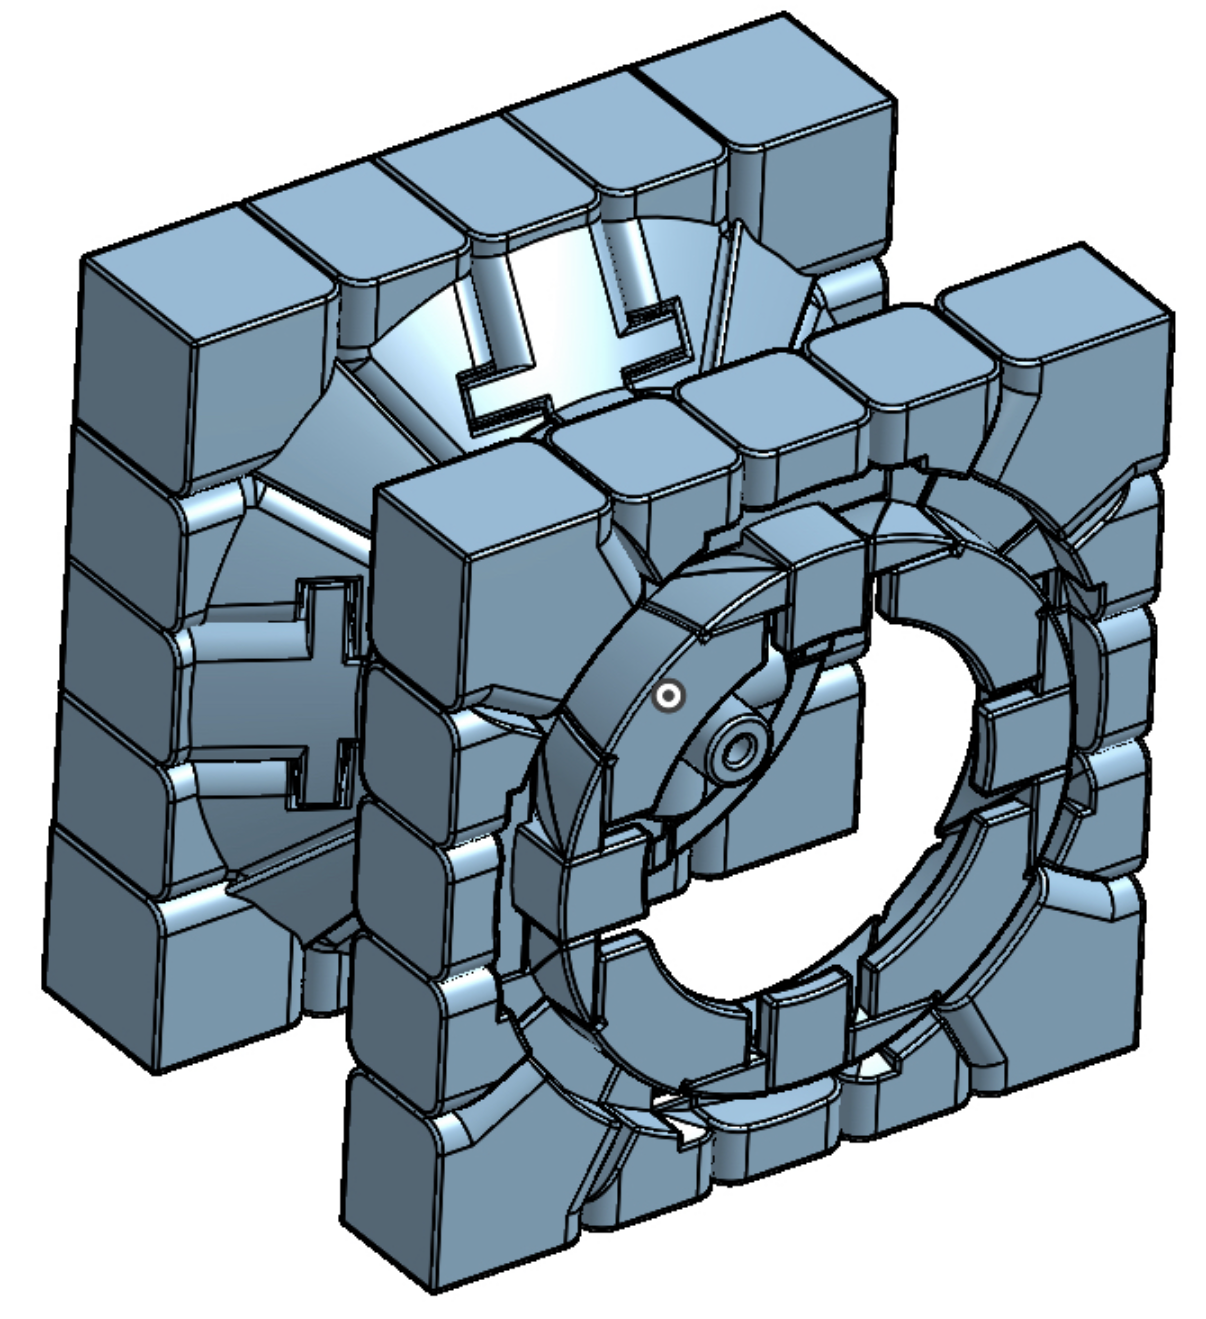
The 3D model was modeled in its entirety using Onshape. Each piece was designed as a rough model and added to an assembly to see how it interacts with each piece. This led to many iterations of each piece as each feature was fine tuned through several tweaks.
The most major modeling change was when the internals of the cube was designed with a square shape inside instead of a circle. This led to all five major pieces needing large redesigns. This was the only major change that was needed as every other change was continuous small adjustments. These modifications came from rigorous checking and the cube was thouroughly designed before any printing took place.
Printing the Cube
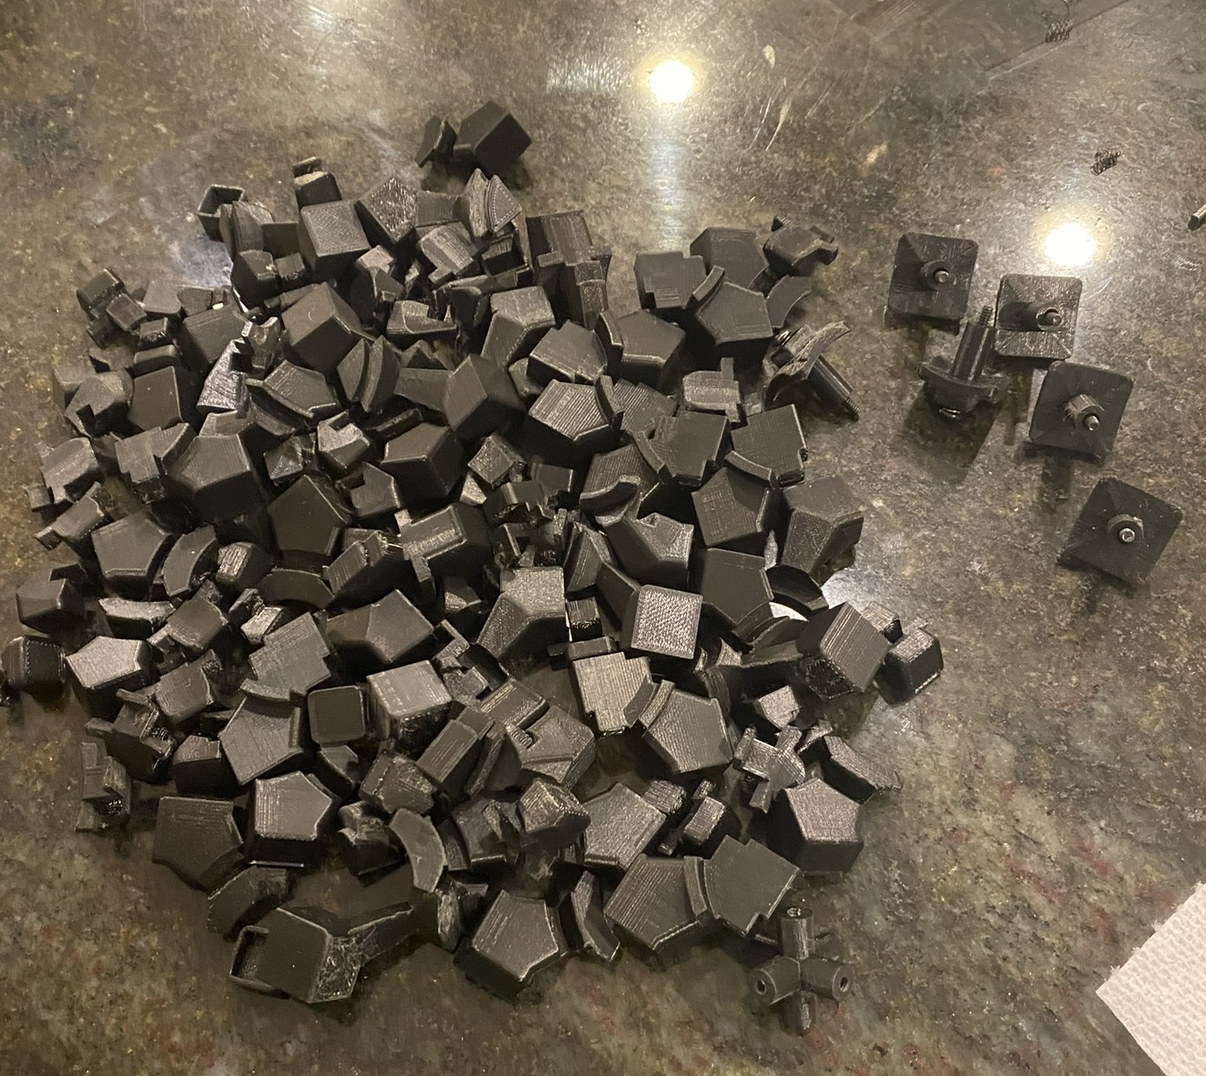
Screws and springs were purchased and the core was threaded for the screws. All other parts were 3D printed: corner, outer edge, middle edge, center center, center edge, center corner, center cap, core.
The only part modification that happened after printing started was the shrinking of the core to allow more internal space for the parts to move around. Some non-critical part modifications were tested to allow for more high quality prints, however these changes did not affect the performance of the parts.
Final Result and Lessons Learned
When all the parts were printed, the cube was assembled and stickers were applied. The cube fully functioned as intended and could complete the checkboard pattern. This proves every layer has the ability to move.
The approach taken in designing this cube was to precisely and thouroughly model the parts before anything was printed and tested. This turned out well because the main difficulty is the geometry of the parts rather than any structural component. This led to no major iterations after the parts were printed, and it taught me that high quality up front work pays off and saves time in the long run.